Female Acting Headshots: How to Plan, Prep and Export
The most common advice about female acting headshots is to look polished, wear flattering colors, and keep everything natural. That's not enough. A beautiful AI-generated portrait is useless for casting if it erases your age, changes your features, or gives every role the same pleasant expression.
Build for casting range, not beauty. With our generation workflow, you can test different wardrobes, expressions, and settings without rebuilding your portfolio from scratch. The discipline is deciding what changes and what absolutely must stay yours.
Why a Headshot Still Opens Casting Doors
Casting teams can decide whether to call you before they've met you. Your generated portrait therefore has to work as a compact employment document, not an aspirational version of your face. It should help someone place you in a role without creating a surprise at the audition.
That function has deep roots. As the history of headshots explains, André-Adolphe-Eugène Disdéri introduced the affordable carte-de-visite process in 1854, and performers used cabinet photographs as promotional materials by the early twentieth century. Today's digital file has largely replaced the printed 8-by-10-inch submission, but the purpose remains rapid visual identification and role positioning.
An AI-generated image enters that same casting system. The method of creating it doesn't excuse an inaccurate apparent age, unfamiliar facial structure, or expression you couldn't plausibly reproduce.
Verander je professionele imago
Ontvang verbluffende AI-gegenereerde professionele headshots in minder dan een uur. Upload gewone selfies of groepsfoto's, kies uit meer dan 100 stijlen en wij maken honderden perfecte foto's die jouw beste ik weergeven.
Opportunity needs precise positioning
Women held 47.6% of leading roles in the 100 highest-grossing films released in 2024, compared with 32.1% in 2023, according to UCLA's 2025 Hollywood Diversity Report. That's meaningful opportunity, not a reason to submit a generic portrait to every breakdown.
A casting director looking for a controlled, intimidating executive needs a different signal from someone casting an emotionally open romantic lead. Neither requires you to become a different-looking person.
Your set has three jobs:
- Show your recognizable face. Preserve the features someone would use to identify you in person.
- Signal a clear casting type. Make the wardrobe, expression, and atmosphere support a plausible role.
- Remain credible at the audition. Don't submit an image whose appeal depends on synthetic youth or altered proportions.
Our workflow makes it easier to explore alternatives quickly. Use that flexibility deliberately: plan a compact set of distinct looks in one generation session, with a casting purpose attached to every keeper.
The Shot List for Casting Range
Start with the roles you can credibly play, then generate the images. Don't browse attractive outputs and invent casting reasons afterward.
Core shot list for a female actor headshot set
Treat the lighting language as generation direction, not proof that a model has simulated a measured studio setup. Judge the resulting facial dimension, eye visibility, and mood rather than trusting the prompt alone.
Guidance summarized by LifehackedAI's acting-headshot guide recommends at least two looks, typically commercial and theatrical, with some casting guidance suggesting three to five images carrying different emotional qualities. Our commercial versus theatrical headshot guide helps you distinguish those purposes before generating unnecessary variations.
Change the mood, not the person
Beauty-shot conventions can leave female actors with interchangeable polished portraits. Smooth skin, an identical smile, and generalized glamour can hide the qualities that make someone castable: dry humor, guarded intelligence, visible maturity, or vulnerability.
Change expression, wardrobe color, lighting direction, and background. Keep face shape, hair identity, and skin texture stable. Don't let a character prompt redesign your brows or narrow your nose.
Say an actor in her thirties plays both a bank manager and a comic best friend. Keep her parting, hair length, and facial proportions unchanged. Generate the manager with a composed mouth and clean light, then the friend with warmer illumination and an amused expression. Our editing workflow lets her test that distinction without rebuilding both portraits.
Give each look one pose
Use restrained pose direction so the generator has fewer opportunities to distort proportions. As a practical starting point, request a head turn of 10 to 15 degrees toward the key light, a level chin, and squared shoulders.
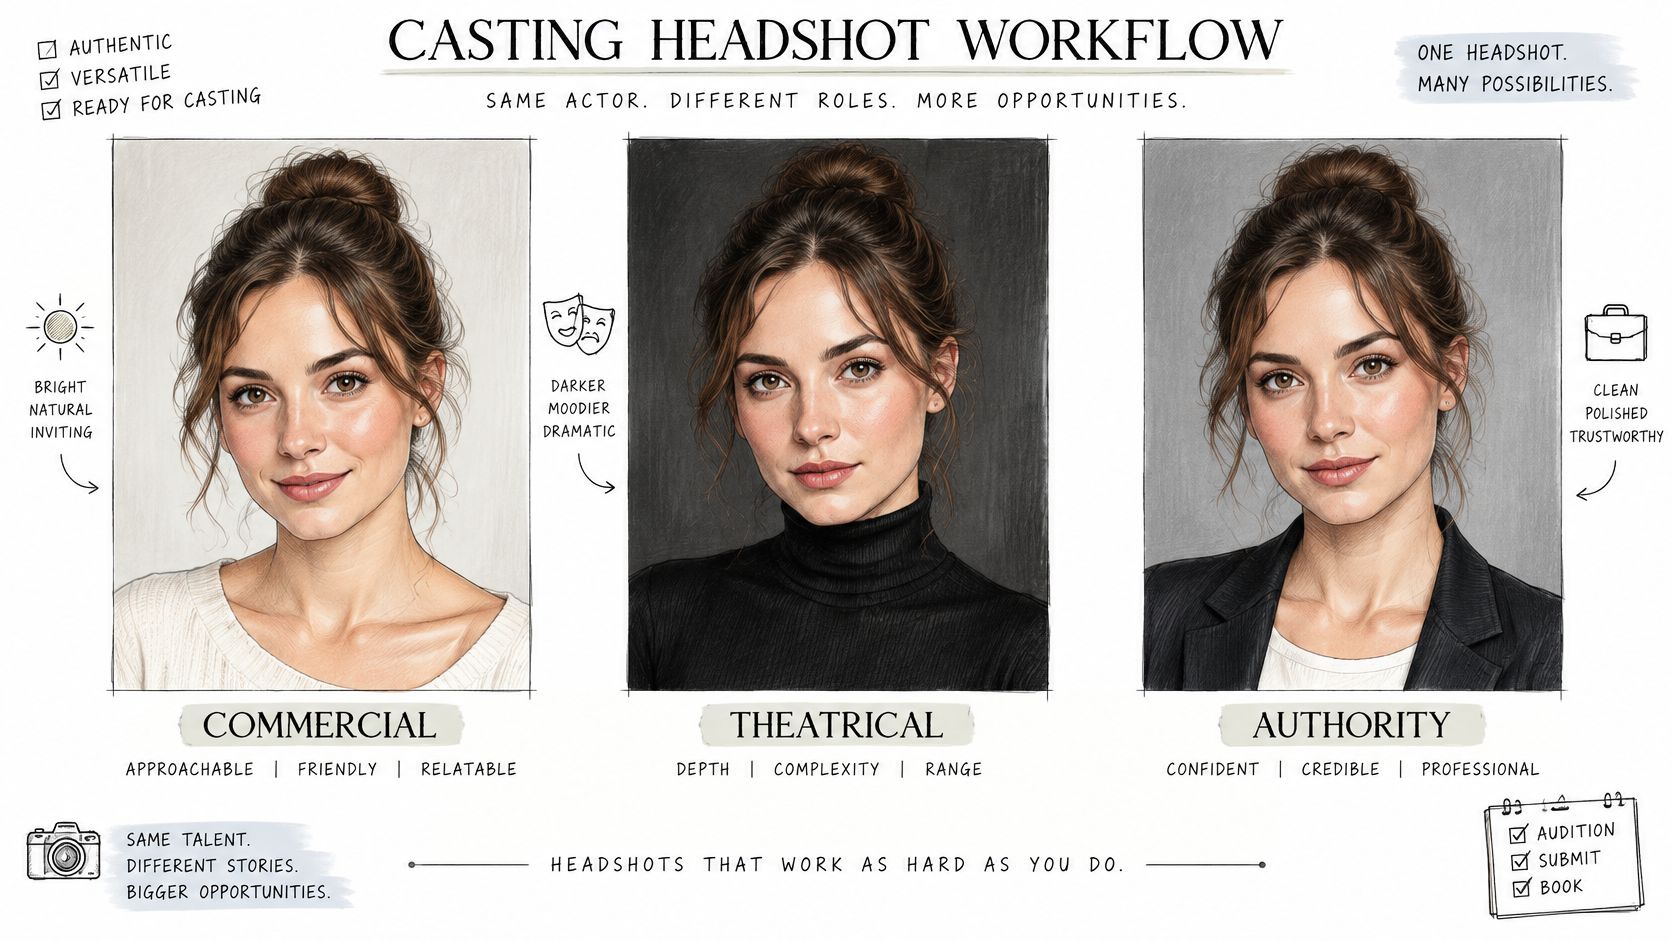
- Theatrical: Turn into the key with eyes directed toward the viewer.
- Commercial: Keep the head square and request a slight, open smile.
- Character: Use a small head tilt only when it supports the role.
Compare the intended pose with your references before generating. A dramatic turn isn't useful if it conceals the features casting needs to see.
My recommendation is three purposeful looks for a focused working set. Expand to five only when you submit across several genres. More files aren't more range if they all communicate the same thing.
How to Prep Wardrobe, Hair and Makeup for Each Look
A casting headshot should show range without making you look like a different person. Set a clear visual direction for each role, then keep your recognizable features stable across the set.
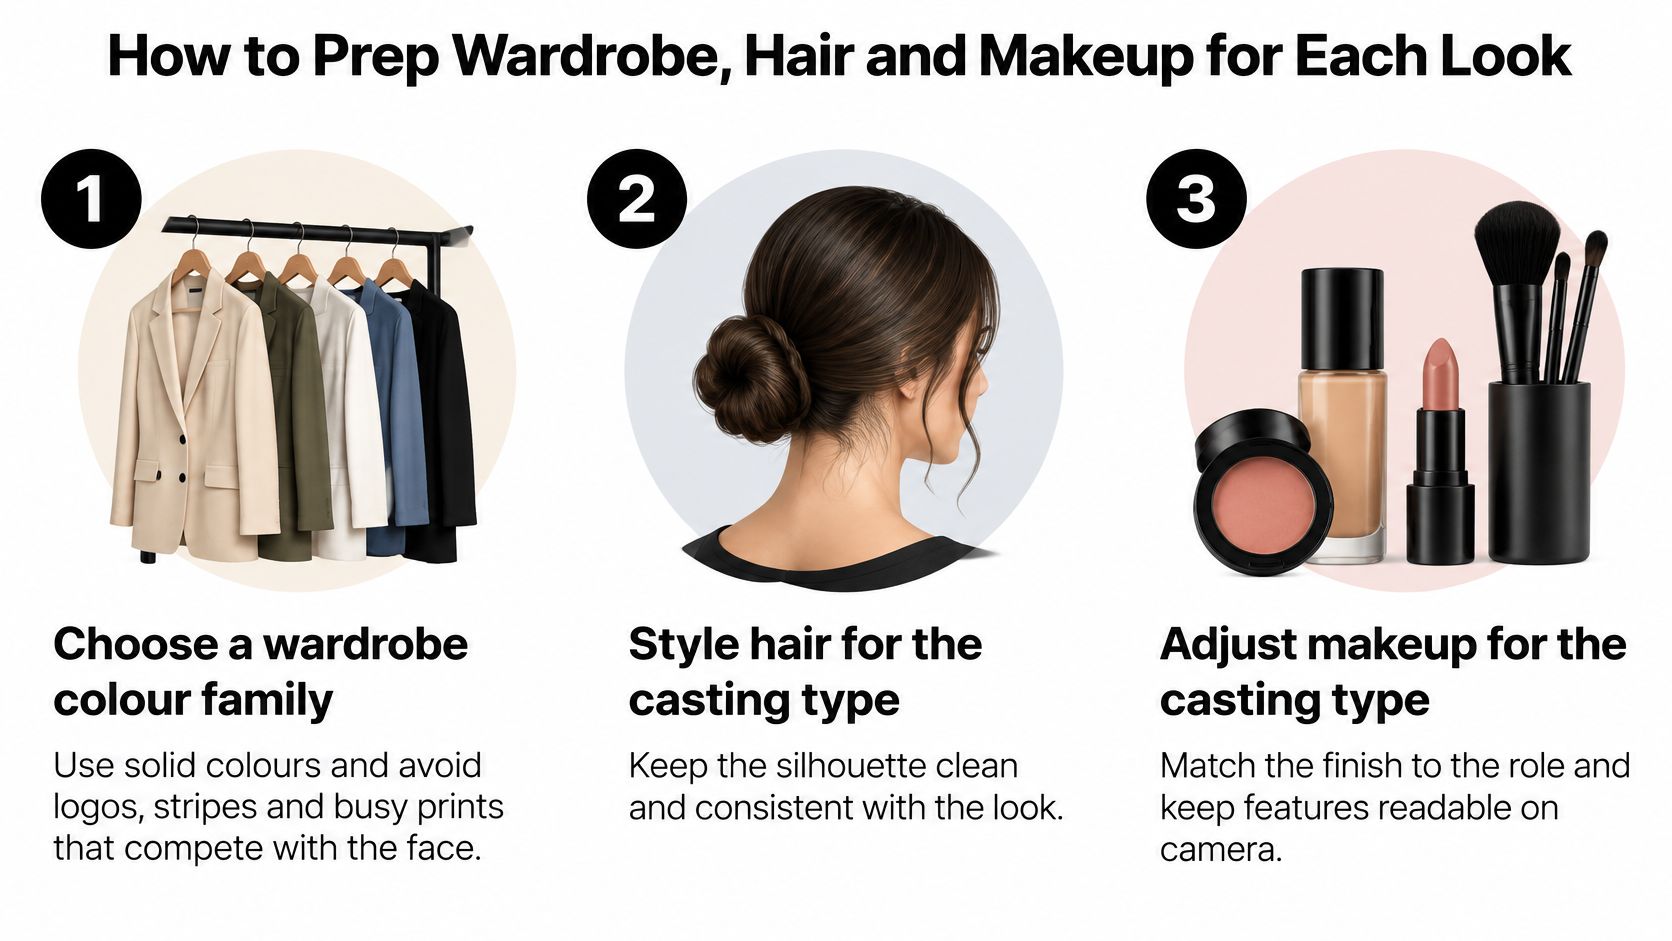
Prepare the styling directions
- Choose a wardrobe color family for each role. Use solid colors and exclude logos, stripes, and busy prints. A muted blouse can suggest an approachable professional; a darker plain top can support a guarded dramatic role. Keep the face as the focal point. For more outfit guidance, see what women should wear for headshots.
- Keep your hair recognizable. Preserve your parting, length, and familiar silhouette; vary styling or texture only when the role calls for it. If you're considering a genuine color change, keep your current color in the headshots until you adopt the new one. This guide to hair color choices for Dubai salon clients discusses balayage and highlights.
- Set a natural makeup direction. Match foundation to your real skin, keep brows and lashes readable, and avoid heavy contour that changes your facial structure. Glamour without clear limits can alter the features casting needs to recognize.
- Specify the neckline and shoulders. A crew neck or open collar gives a clean outline; a simple jacket can support an authority role. Skip elaborate knits that turn into visual noise at thumbnail size.
Prepare the inputs
- Build a clear reference set. Secta Labs uses 10 to 20 photos and a gender selection to create headshots. Choose photos with readable features, even daylight, and a mix of neutral and expressive faces. Leave heavy retouching out so your real skin, proportions, and distinguishing details remain visible.
- Check each planned look against a reference before generating. Write down the intended change, such as a warmer expression or a professional jacket. Remove directions that introduce a new haircut or redesign your features. A haircut change midway through the process can make the set read as two different versions of you.
Give each look one clear role-specific change. Keep your face and hair identity consistent, and make the styling do its job: help casting place you in a part.
Background and Export Specs for Casting Submissions
Choose a generated background that supports the role and then disappears from attention. For commercial looks, request a light neutral or soft gradient. For theatrical looks, use dark charcoal or a restrained graded tone that leaves facial detail visible.
An authority portrait can use a studio neutral or a quiet office backdrop. Keep office details subdued: readable signs, elaborate furnishings, or conspicuous luxury can pull the image toward lifestyle branding instead of casting. Avoid strong background colors that clash with your wardrobe or cast an unnatural tint across your skin.
Our workflow makes background alternatives easier to compare without changing the underlying casting brief. Hold the expression and wardrobe steady while testing the setting, so you know which adjustment improved the image.
Frame for a casting thumbnail
Request a vertical composition from the shoulders or mid-chest upward, with a prominent face, eyes near the upper third, and direct eye contact. Leave enough room above the hair to make your final crop without clipping it.
The Backstage headshot guide supports shoulders-or-mid-chest framing and sRGB JPEG delivery, with common requirements around 1,200 × 1,500 to 2,000 × 2,500 pixels and files generally below 2 MB. These are useful working targets, not permission to ignore a portal's specific upload instructions.
Export specs for casting-ready headshots
Convert to sRGB rather than merely renaming a color-profile setting. Use JPEG quality controls to reduce file weight while checking the eyes, hairline, and skin for compression artifacts. Keep a higher-quality master so future exports don't repeatedly compress an already compressed file.
For portal-specific decisions, use our actor headshot requirements guide alongside the submission form.
Select the crop before naming the file
From a generated batch, shortlist the frames with sharp eyes, intact hair, and visible shoulders. Crop to 4:5, which matches the proportions of the pixel dimensions above, then compare candidates at thumbnail size.
For example, suppose a portal rejects a 6 MB PNG. Exporting that same approved portrait as a 1,600 × 2,000 JPEG, with compression adjusted to the portal's limit, avoids regenerating a perfectly usable look.
Keep original uploads and generated versions in the same organized project folder. Name final files by actor, look, and role type, such as MayaChen_Commercial_ComicFriend.jpg, rather than relying on a gallery sequence.
Fixing Identity Drift and Exposure Problems
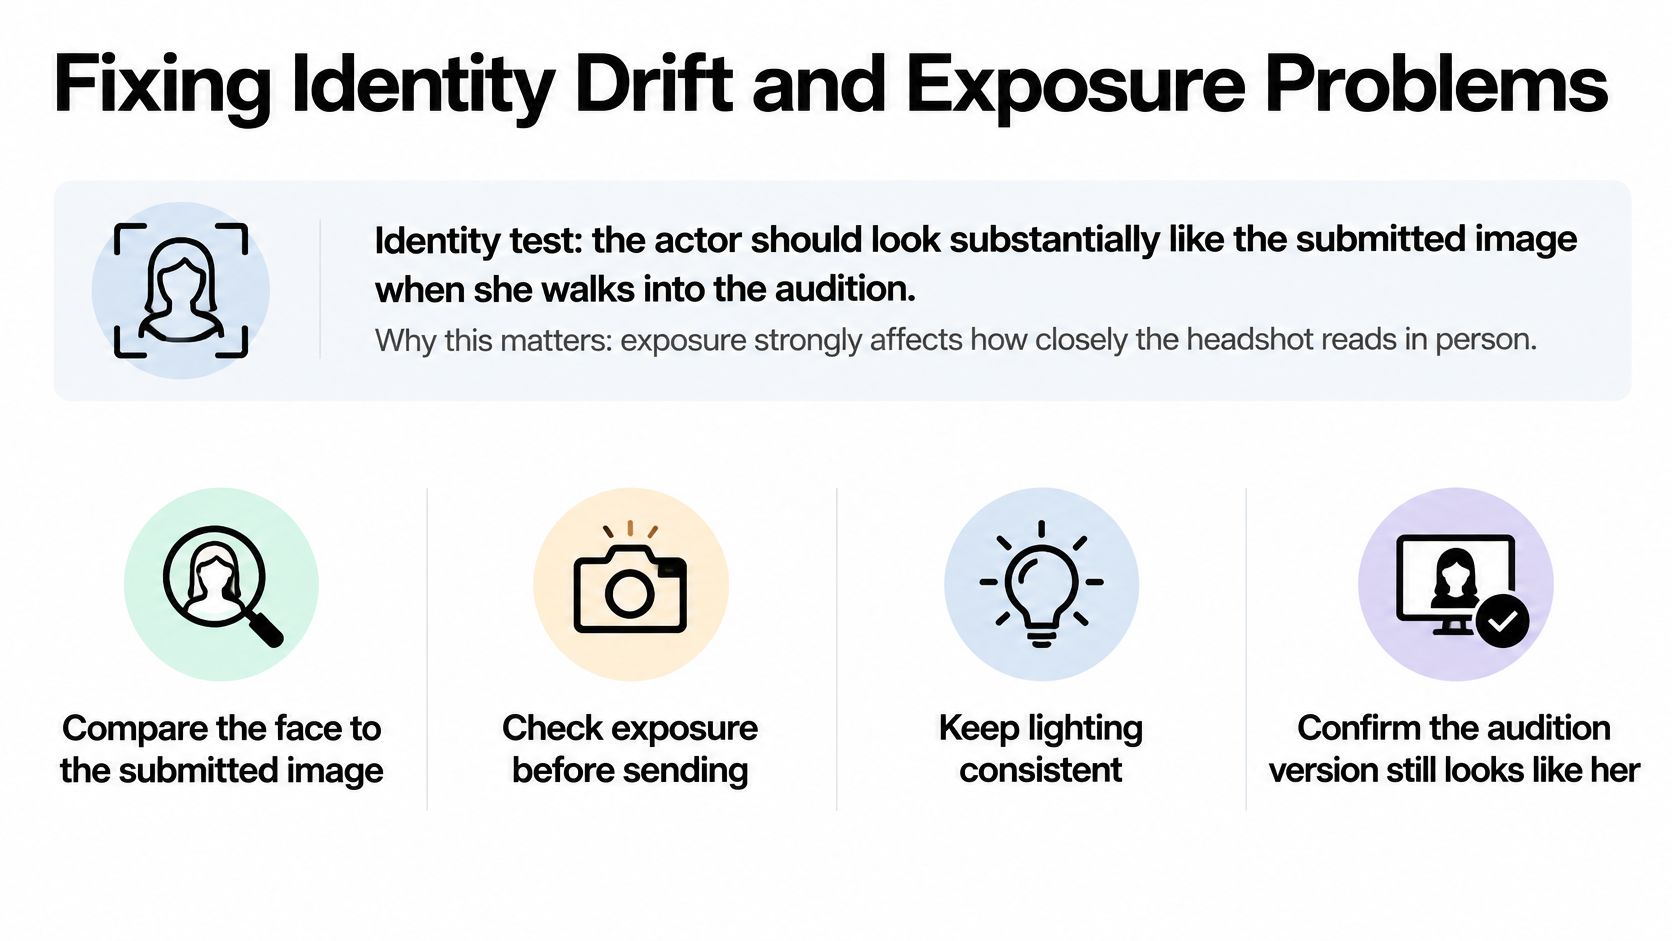
The identity test is simple: you should look substantially like the submitted image when you enter the audition. If a generated portrait needs an explanation about your real jawline, complexion, or age, it isn't ready.
NIST's demographic face-recognition evaluation identifies image quality and inadequate exposure as influences on face-comparison errors, including under-exposure affecting dark-skinned subjects and over-exposure affecting fair-skinned subjects. NIST also notes that demographic differences can remain with good-quality images, partly because of under-representation in training data.
Those findings concern automated face comparison, not a measurement of casting-director behavior or our generator's accuracy. The practical takeaway is narrower: don't confuse polished output with faithful identity.
Diagnose before regenerating
Compare each generated look with an unretouched reference on the same screen. Inspect skin tone, eye spacing, nose shape, jaw contour, brows, and distinctive marks. A darker dramatic background is acceptable; a newly reshaped face isn't.
Headshot symptoms, causes and fixes
Use the table as a troubleshooting guide, not a guarantee that every symptom has the same cause. Generated lighting can look inconsistent even when the prompt specifies a ratio. The visible result decides whether the adjustment worked.
Correct one variable at a time
Suppose your commercial image looks accurate but the theatrical version has a narrower nose and darker complexion. Don't ask for a wholesale improvement. Keep the approved reference, remove any beautifying language, and correct the altered structure separately from the exposure.
Our iterative workflow makes those targeted comparisons easier than starting over with an unrelated set. Save the approved version before editing so you can reject a change that fixes the lighting but damages the likeness.
For expression, replace elaborate emotional instructions with a playable thought. A restrained sense of knowing something the other person doesn't can read more convincingly than stacking confidence, mystery, vulnerability, and intensity in one prompt.
If a casting director would hesitate while comparing your reference and generated image, regenerate that look. Speed helps only when it gets you to a credible result sooner, not when it encourages you to submit the first attractive output.
Labeling AI-Generated Headshots Before You Submit
A convincing headshot still needs an honest label. Keep track of which images are generated, check the submission rules, and disclose synthetic content where required.
The European Commission's Article 50 transparency FAQ describes machine-readable marking obligations for providers of systems that generate or manipulate images, and visible disclosure obligations for deployers of qualifying deepfakes that resemble real people. These obligations are due to apply from 2 August 2026. Don't rely on hidden metadata or a note elsewhere on your website when clear, visible disclosure is required.
Distinguish edits from synthetic portraits
The European Commission's quick facts on AI transparency describes an exception to machine-readable marking for certain standard editing functions and changes that do not substantially alter input data or its semantics. That exception does not automatically cover every background replacement.
A minor correction differs from a newly generated portrait with changed clothing, expression, pose, and setting. Keep the original upload with the output, and record what changed so you can describe the image accurately.
Maintain a simple file record:
- Original reference: Keep the unaltered upload used to establish your appearance.
- Generated version: Note the intended role and any material changes.
- Submission copy: Save the final export with its disclosure wording and destination.
Respect usage restrictions
Secta Labs prohibits using generated Headshots for sale or for the benefit of any third party. It also restricts using other people's photos without their consent. Use your own reference material, and don't sell generated portraits or provide them for someone else's commercial benefit.
For an agency submission, use a plain cover note that identifies the portrait as AI-generated and says reference photos are available on request. Follow the agency's rules for submitting images. A note does not replace any disclosure required by law or the receiving platform.
Build Your Female Acting Headshot Set This Week
Build a small, usable set before chasing a larger gallery. The fastest route is a defined casting brief, clean inputs, and firm rejection criteria.
Move from references to submission
- Gather your uploads. Choose clear, current photos that represent your appearance. Our process accepts regular selfies or group photos, and you'll select your gender during setup; use images you're entitled to upload and respect everyone else's consent.
- Choose Actor Headshots in Secta Labs. Generate a theatrical, commercial, and character look tied to the roles you pursue. Our editing tools let you adjust clothing, expressions, backgrounds, and lighting without rebuilding the entire set.
- Review before expanding. Compare results against your references and keep only portraits you'd confidently bring into a casting room. Reject structural changes rather than trying to justify them.
- Prepare the delivery files. Export the approved crops to the receiving portal's specifications, give each a role-based filename, and keep originals with generated versions.
- Attach disclosure. Add a clear AI note wherever required and confirm that the destination accepts generated headshots.
Our generation and editing workflow lets you test casting directions in one session rather than coordinate separate production days. Live chat support is available for setup questions, but the casting decisions should remain yours.
Pick your three casting types today, gather your references, and generate one look for each in Secta Labs before doing anything else. Approve the likeness first. Build the rest of the portfolio around the looks that earn their place.